How To Build A Custom Keyboard Under $100
In this guide, we will show you, how to pick the parts and build your first custom mechanical keyboard. All this, whilst staying under 100 USD.
Contents
15 Min
The Layout
Choosing the correct layout for your use case, is a crucial part of buying the correct keyboard for you. Theese are the 3 most popular choices.
Full-Size: Classic Convenience
Full-size keyboards have the traditional layout, with the numpad. It is often required in professional applications, like video editing or 3D-modelling.
Full size
TenKeyLess: Compact without Compromise
For users who want a more compact design without sacrificing essential keys, TenKeyLess (TKL) keyboards are an excellent compromise.
TKL
60%: Minimalism and Efficiency
If you crave the ultimate in space efficiency and are willing to make some sacrifices in terms of keys, a 60% keyboard might be the perfect fit. They're quite popular among gamers.
60%
The PCB
The PCB is the "brain" of the keyboard. It controlls the lighting and other software, like macros. There are several factors, to look out for, when choosing one.
I also really reccommend you to get a kit. A kit usually includes A Case, PCB, Stabilizers and a Cable. This way, you don't have to worry about not getting the right stabilizer.
Switch Compatibility
Ensure that the PCB is compatible with your preferred switches. If you choose a switch with 5 pins, and accidentally choose a pcb, that has 3 hole per switch, you will have to cut the access pins.
Customization Options
Assess the level of customization the PCB allows. Look for features like programmable macros, key remapping, and RGB lighting customization to enhance your overall experience.
RGB Lighting Support
If RGB lighting is essential to you, ensure that the PCB supports the lighting features you desire. Some PCBs come with pre-installed LEDs, which make your life much easier.
Ease of Assembly
Consider the ease of assembly, especially if you are building your keyboard. Look for PCBs with hot-swappable sockets if you want to change switches without soldering.
The Switches
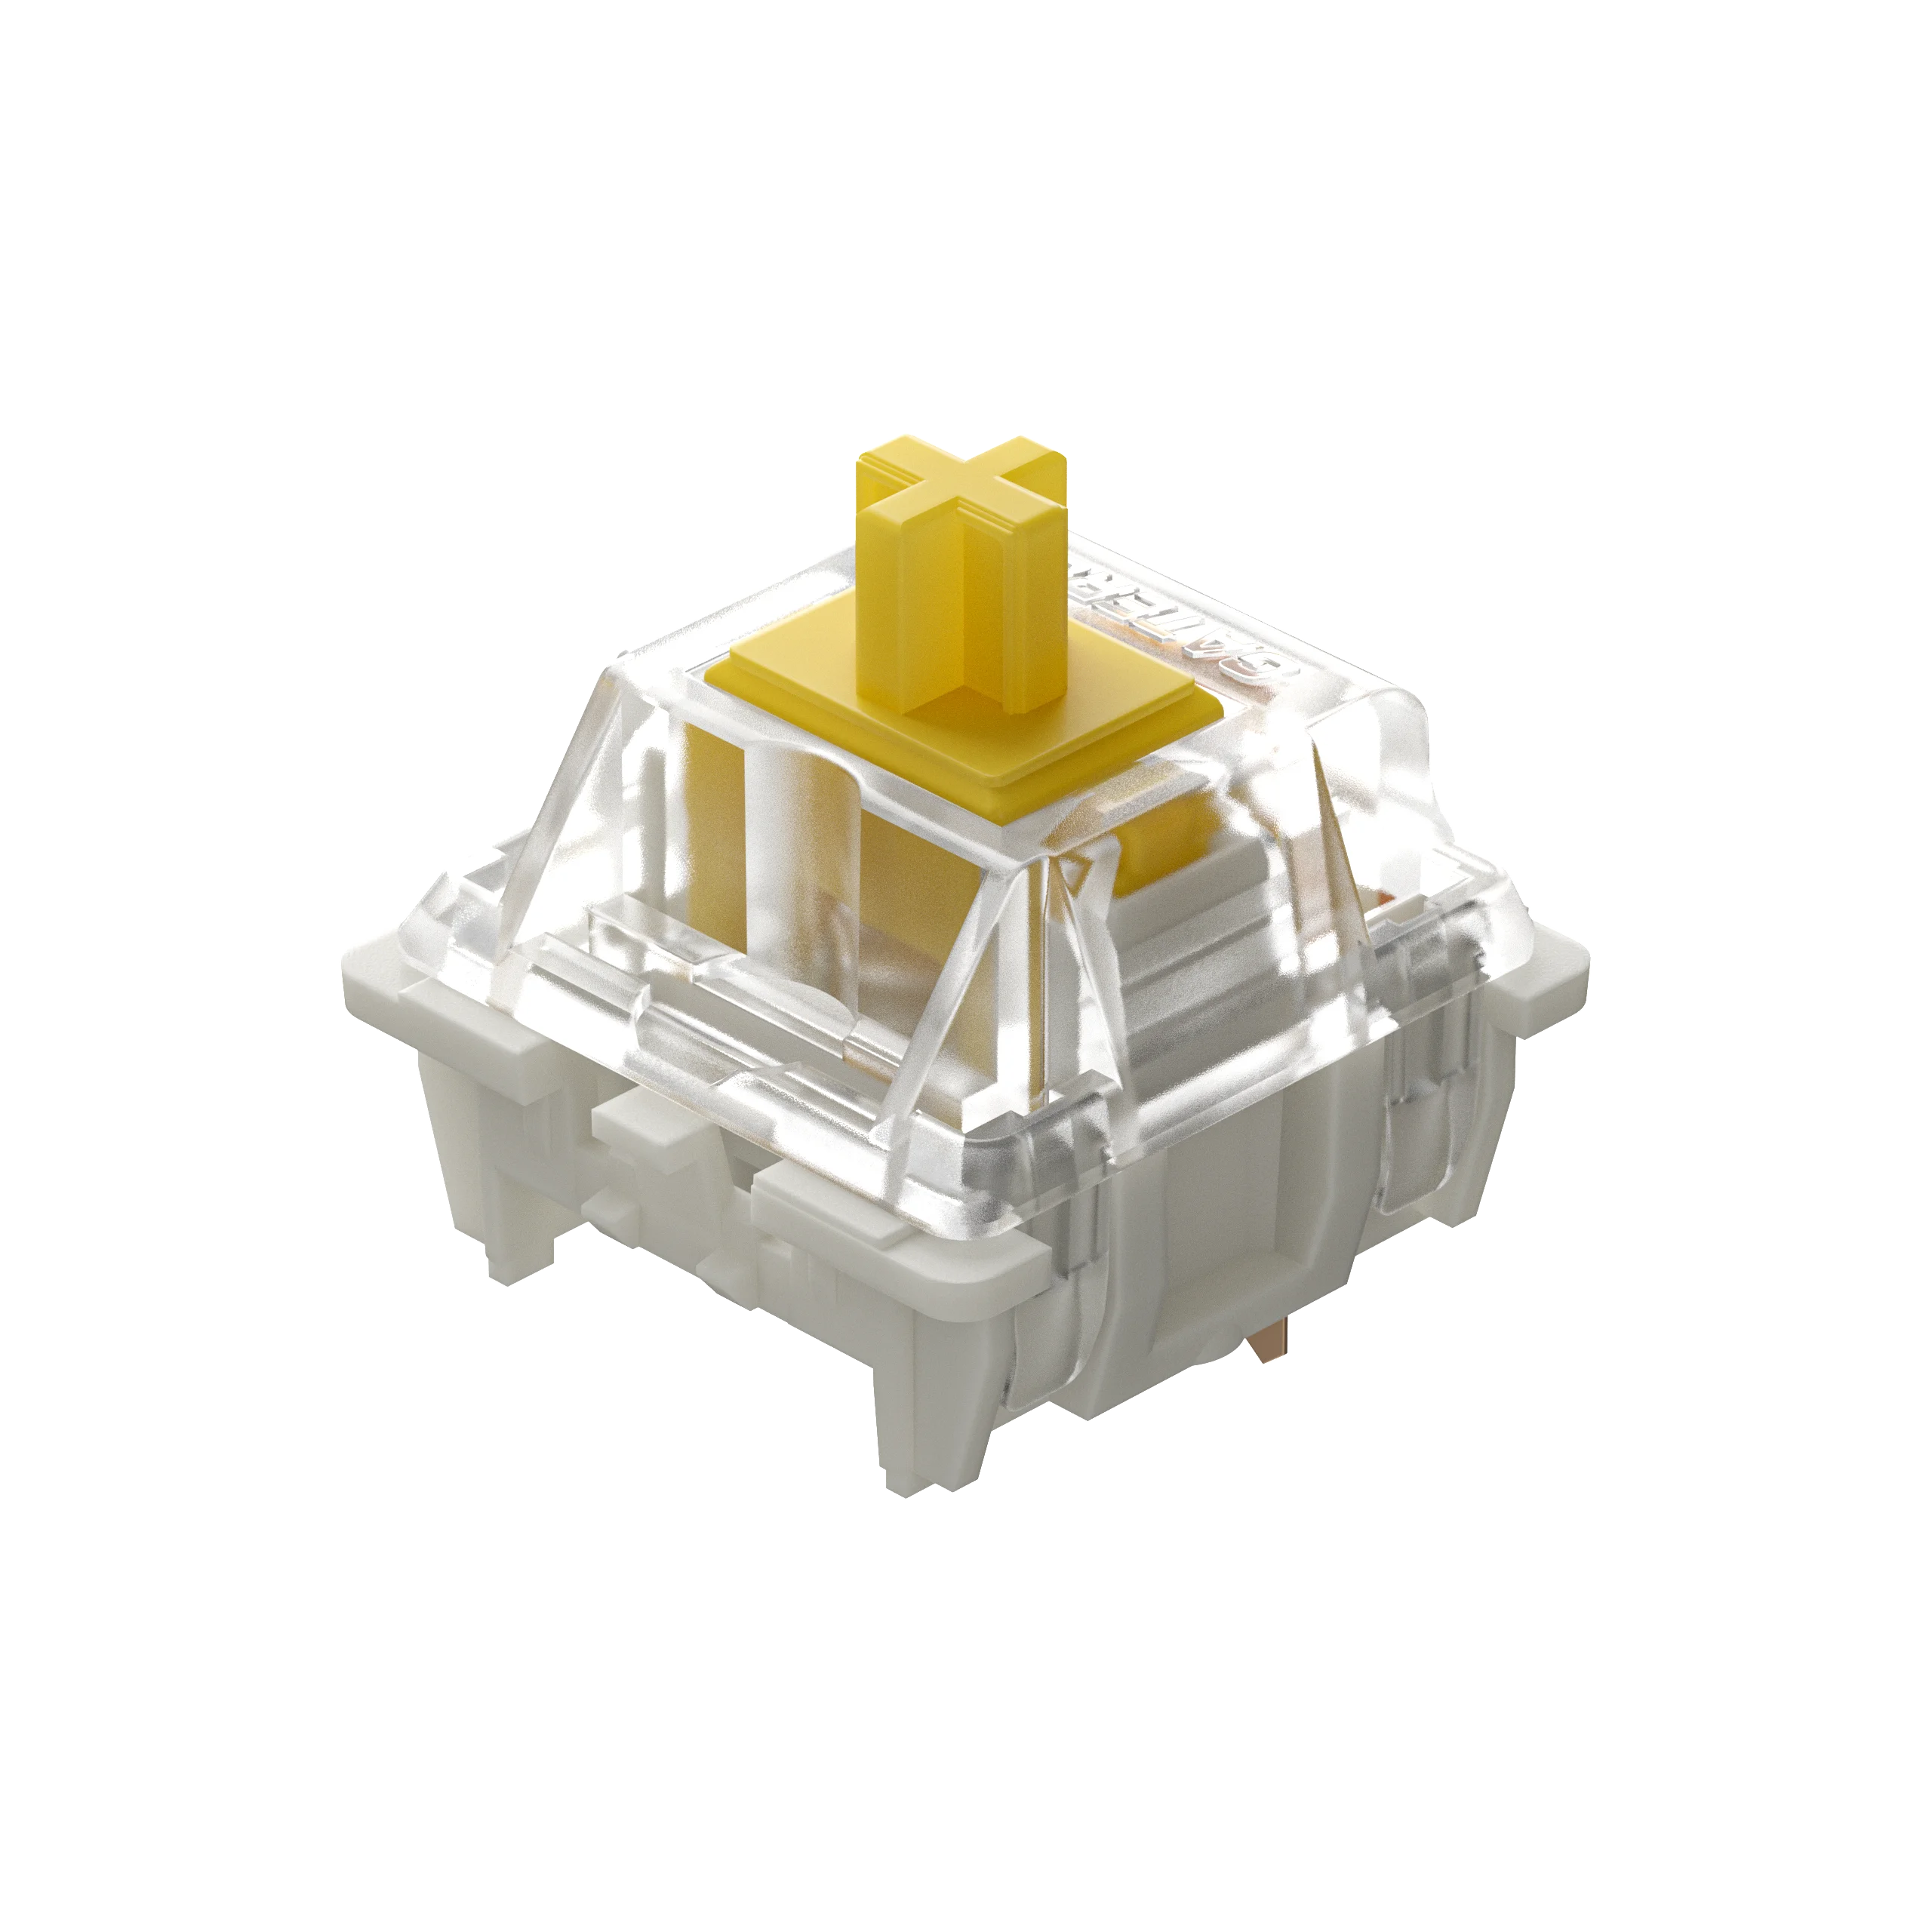
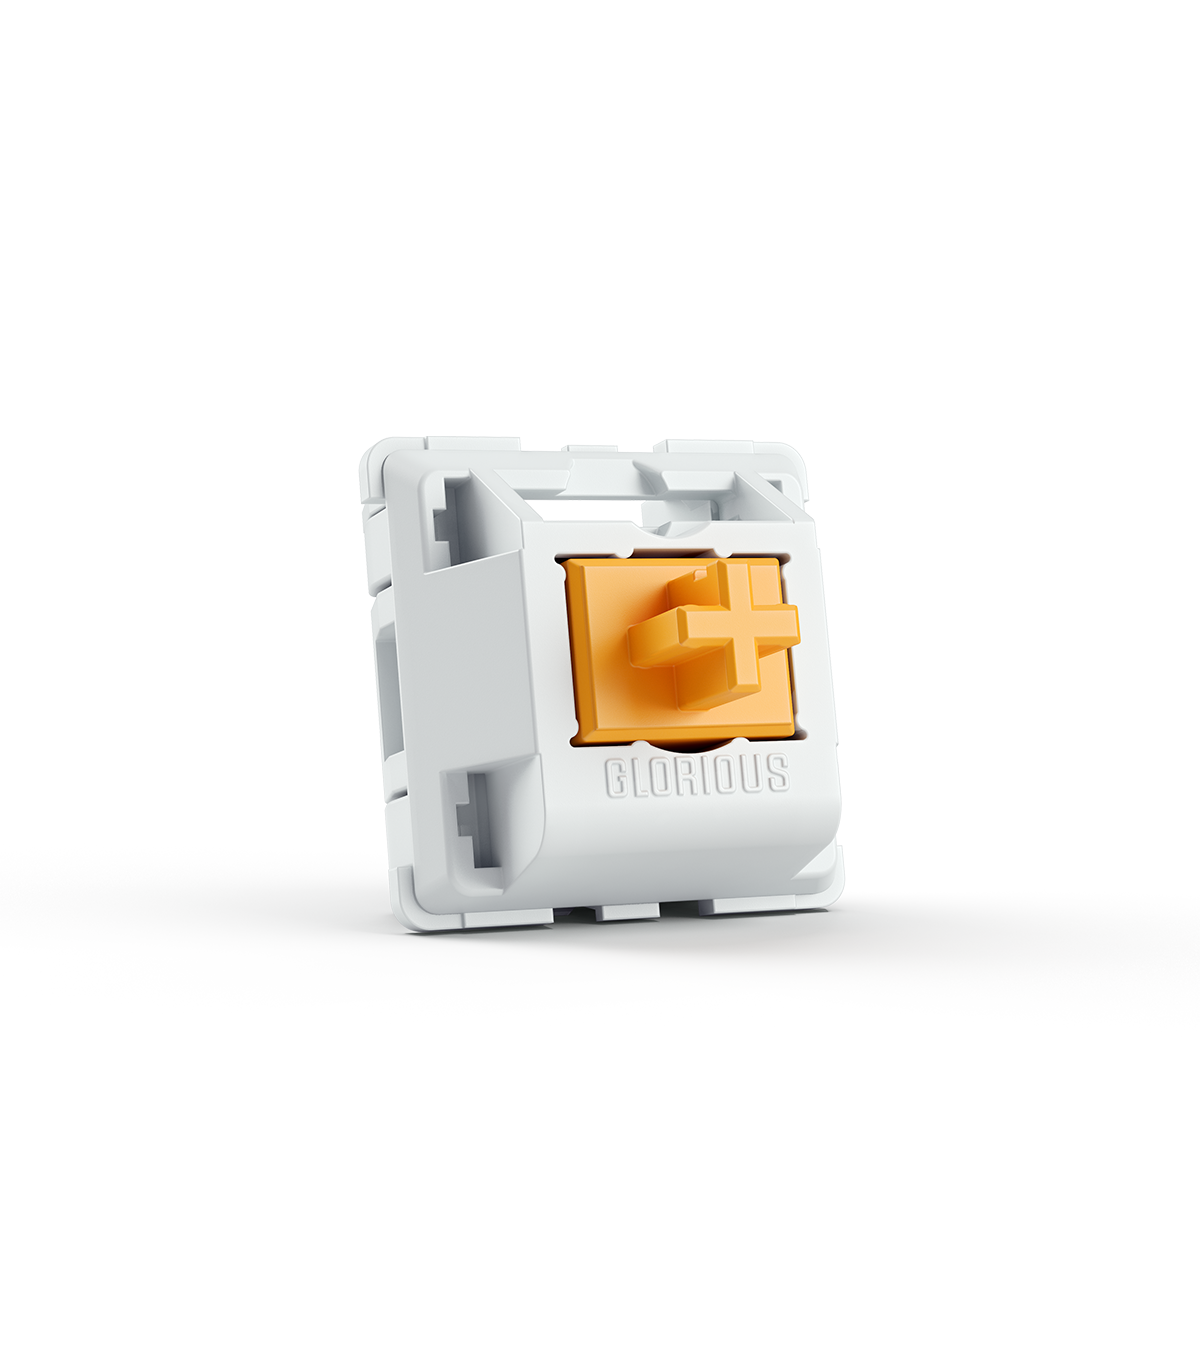
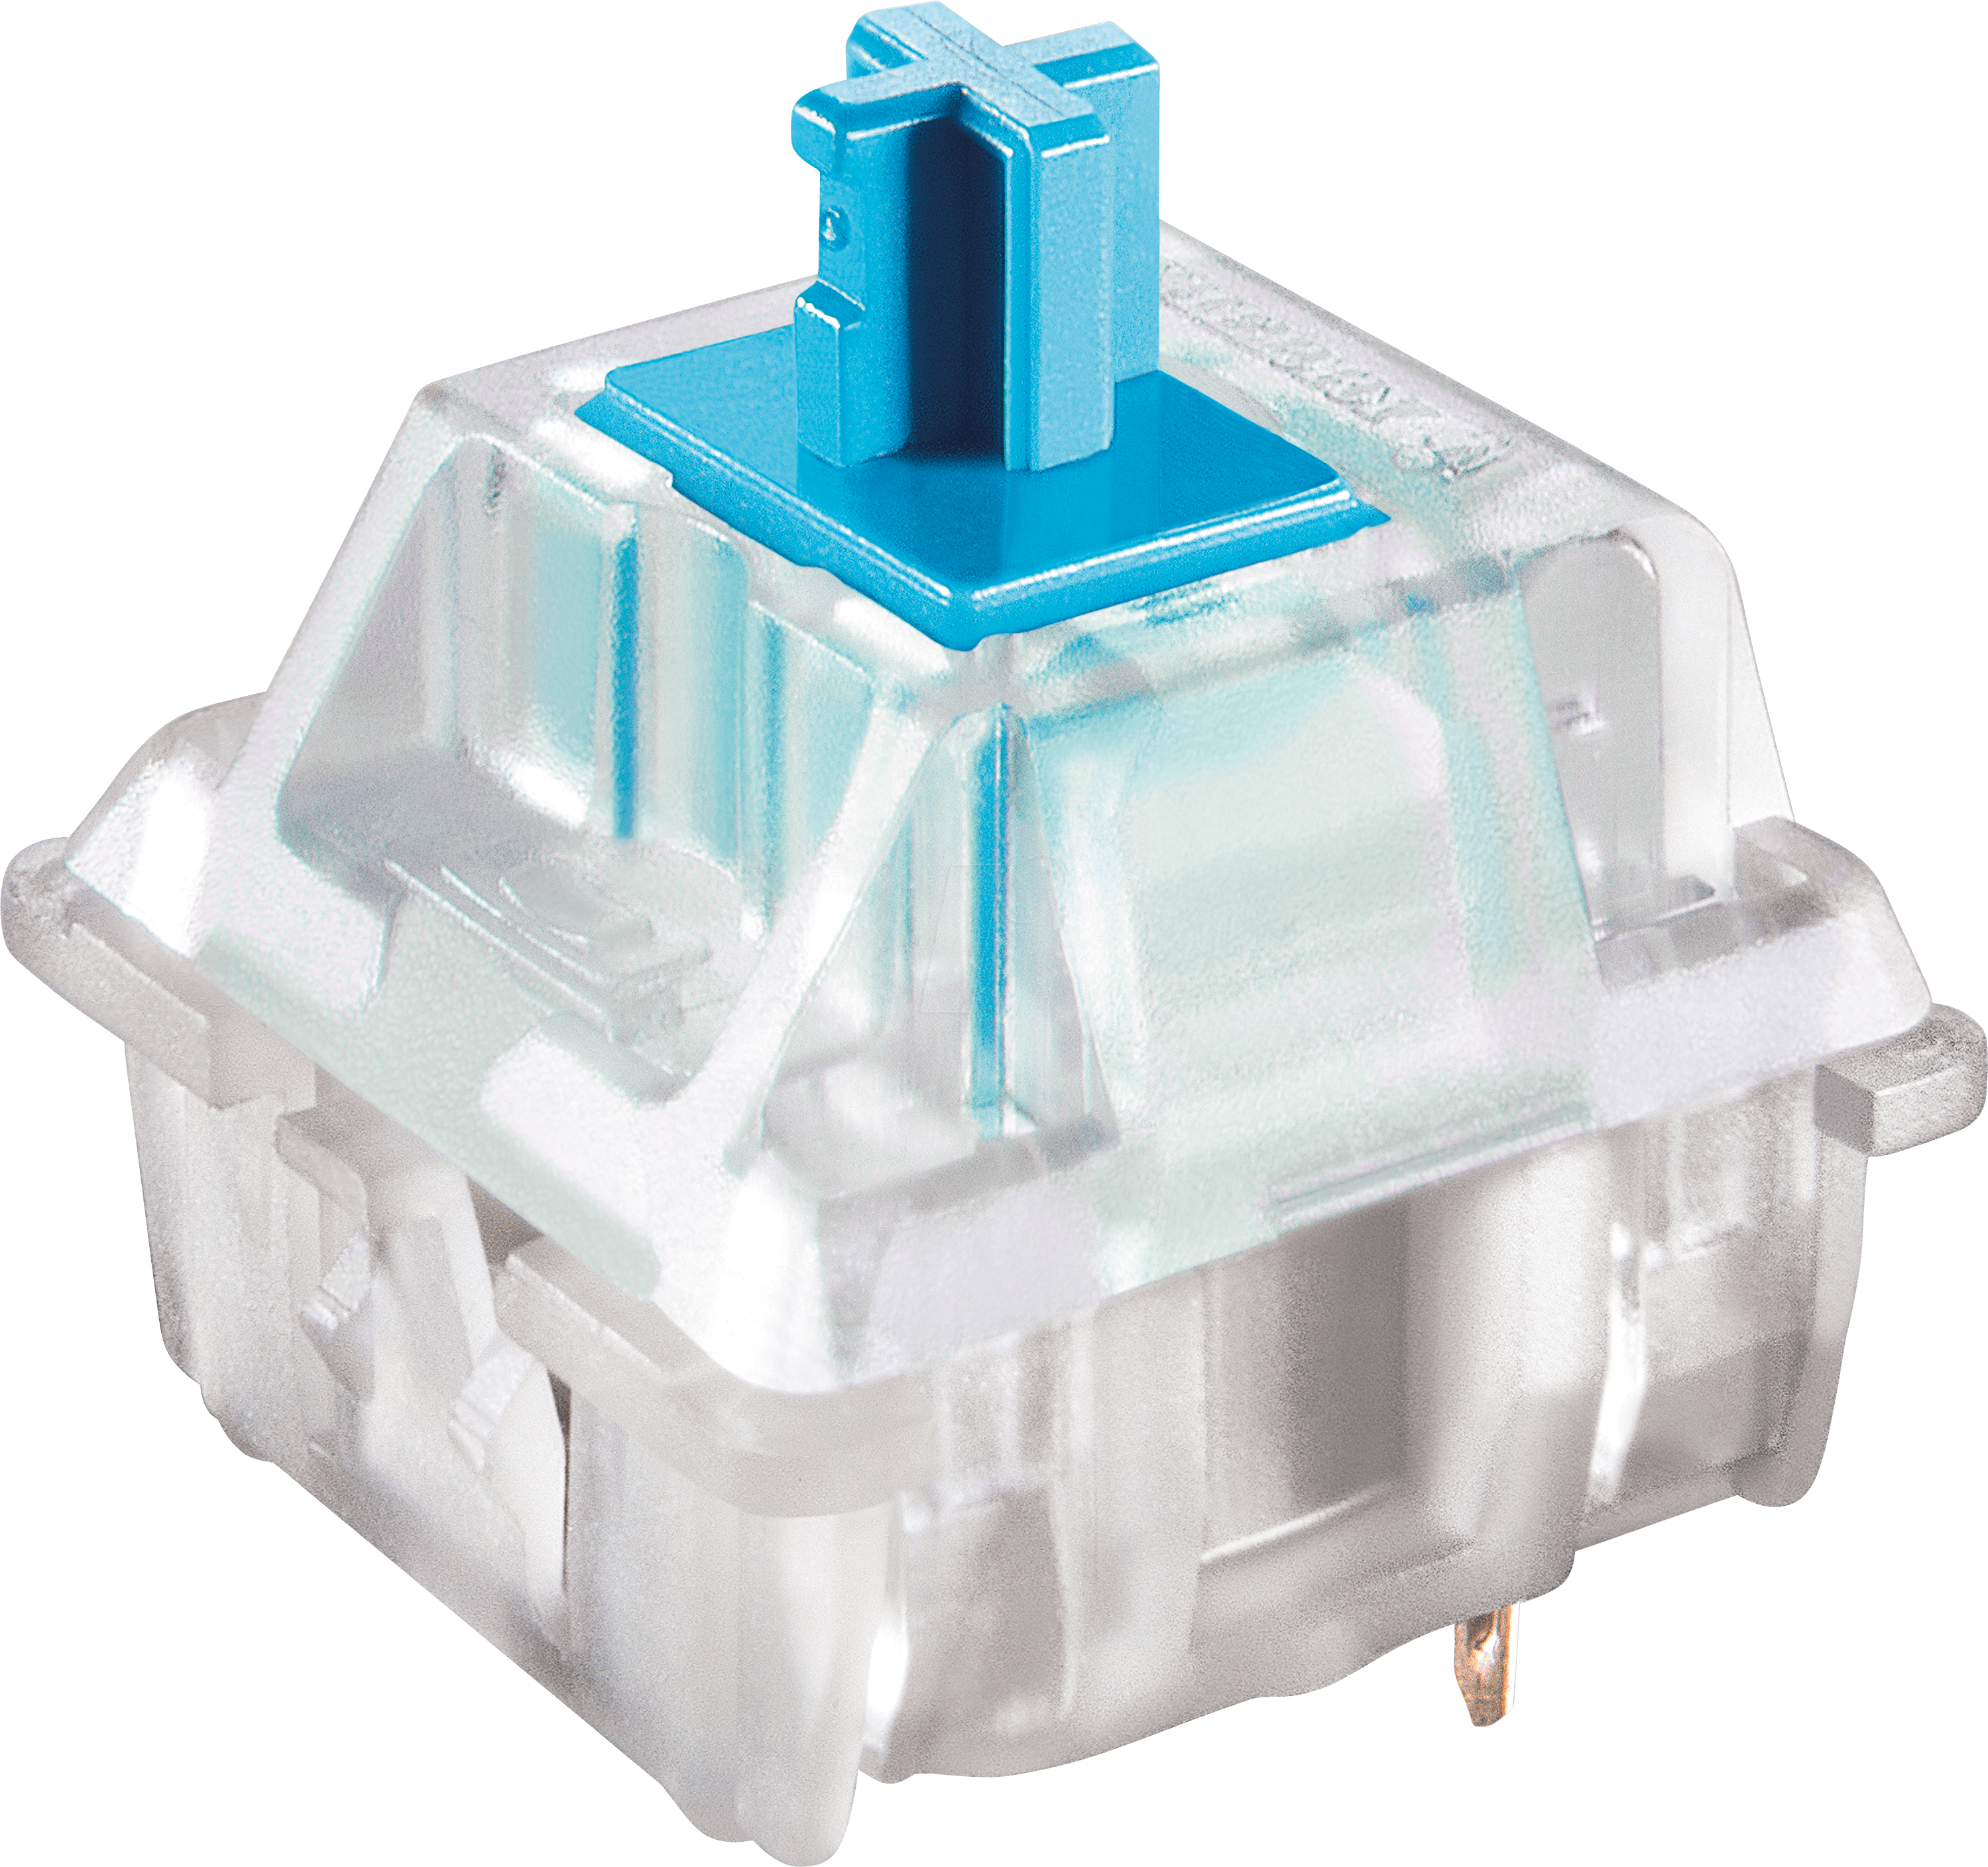
The switches, you choose for your build, dictate the main feel of the keyboard. There is no "best" switch, as it is a matter of personal preference. There are many factors, to choosing one.
Please watch out for the quantity of switches you order. For a full-size keyboard, a 110-pack is recommended; for TKLs, 90 switches are sufficient, and for 60%, 70 switches are necessary.
Switch Type
There are 3 main types of switches: Linear, Tactile and Clicky. We will discuss theese further.
Actuation Force
This parameter is, how hard you need to press the switch, to actuate it. You can make the keyboard be really fast or even make it like a typewriter!
RGB backlight
There are some switches, that don't have transparent housing, which is needed for the light to shine through, for a backlit keyboard.
 Linear |  Tactile |  Clicky | |
|---|---|---|---|
| Travel distance: | Long | Medium | Long |
| Activation force: | 45g-67g | 60g-67g | 60g-80g |
| Peak force: | 55g-77g | 65g-77g | 75g-85g |
| Operating life: | 50 million clicks | 50 million clicks | 50 million clicks |
| Noise: | Low | Medium | High |
| Typing feeling: | Smooth | Bumpy | Clicky |
| Gaming feeling: | Smooth | Tactile and precise | Clicky and satisfying |
| Typing experience: | Smooth and quiet | Tactile and satisfying | Clicky and satisfying |
| Gaming experience: | Fast and responsive | Tactile and precise | Clicky and satisfying |
| Popularity: | High | Medium | Medium |
| Recommended for: | Typists who prefer a quiet and smooth experience | Typists who prefer a tactile and responsive experience | Typists who prefer a clicky and satisfying experience |
The Keycaps
The Keycaps are an essential part of a custom keyboard. Their price can range from 10s to 1000s of dollars. They are very good at showing the vibe of the owner.
Material
There are two keycap materials: ABS and PBT. ABS is less durable, prone to wear, and feels smoother. PBT is more durable, with a slightly rougher texture for better grip and satisfaction.
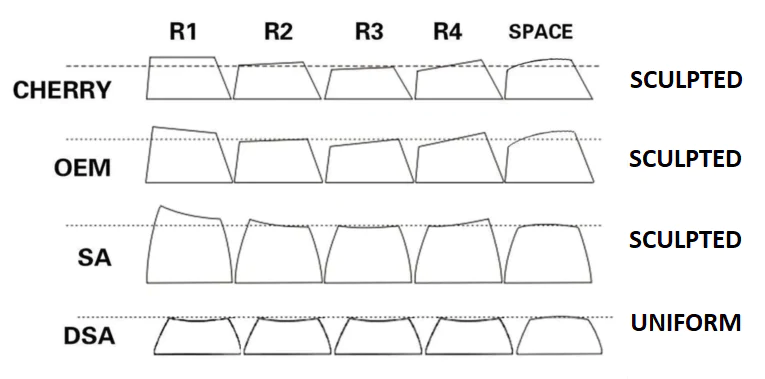
Profile
Popular keycap profiles include: Cherry: Common in mainstream keyboards, low-profile. DSA: Versatile and modern, flat and uniform. OEM: Standard sculpted, widely used.
Keycap Legends
Legends on the keys are made in various ways: Laser-etched: Durable but may wear. Double-shot: Highly durable with a separate legend layer. Dye-sublimation: Durable, high-quality, good contrast.

* image from Glorious
Recomended Products
The Assembly
The assembly is the most fun part, of this whole process. In this guide, I'll try to explain everything, but I won't go into much detail, so don't be afraid to Google.

Step 0: Gather Everything
Make sure to grab your PCB, Switches, Stabilizers, Keycaps, Keyboard Case and a screwdriver.

Step 1: Install Stabilizers
There are 2 types of stabilizers: Plate- and PCB- mounted. Theese vary a little between installation.
PCB mounted: for theese, you will have to just screw them in to the PCB. That's it!
Plate mounted: theese are a bit harder, but not the end of the world! You will have to just clip them on the plate. there will be a little clip on the front, and with that can you remove them. This video helps.

Step 2: Mount The PCB In The Case
It's quite self-explenatory, right? Place it, screw it!
Tipp: If you want a thockier sound to the keybaord, you can try placing foam in the case. Please don't do this, if you have a battery installed.

Step 3: Mount The Switches
Align the pins on the bottom of the Switch, with the PCB, then pop it in. Be very careful, it's very easy to damage your board.
If the pins got bent on a Switch, you can try to bend them back to the original position.

Step 4: Place The Keycaps
You just put them on the stems of the Switches.
I reccomment Googleing the layout, you are building, to not mess up the order of the keys.
ANSI keyboard layout

Step 5: Test & Enjoy
Congratulations! You have just built your first custom mechanical keyboard. Welcome in the club.
I reccommend, you test your new keyboard, that all of the keys are working with a tool like this.
Thanks for reading all the way through!
Please keep in mind, that the links used in this article are affliliate links. This means, we profit from you buying them.
I'm curious to know your thoughts on this topic, share them in the comments!
Comments


